I’ve already effused over the peg loom workshop at craft for crafters this weekend but I also need to do a review of our other class, Polymer Clay Pendants. It was run by the same company as the other workshop westcountry creative.

Once again, it was myself and the indomitable Emma who went to the workshop. Neither of us have any prior knowledge of polymer clay and were tempted to buy some at the last big craft fair in September ( Creative Stitches) but we didn’t as we didn’t really know enough about the craft. When I saw this workshop on the facebook page for this show I knew it was perfect for us to find out if we liked it. I emailed in advance and booked us the places, it was super easy.
Upon arrival the lovely lady who ran the workshop called Jo was very welcoming and began by showing us some sample pendants we could make. We then were told to pick four colours from the range of polymer clay blocks. I wanted to create a matching pendant for the I think I got away with it top so chose to accentuate colours from that top:

Then we rolled them in to a ball to warm them and soften them – if you don’t do this your finished jewellery will be brittle so don’t forget! The next task was to roll the colours in to little sausages then twist the sausages together in a spiral. We then rolled the whole thing in to a smooth sausage again.

This process is repeated until you get the marbling to your chosen effect. The more you do it, the finer the marbling.
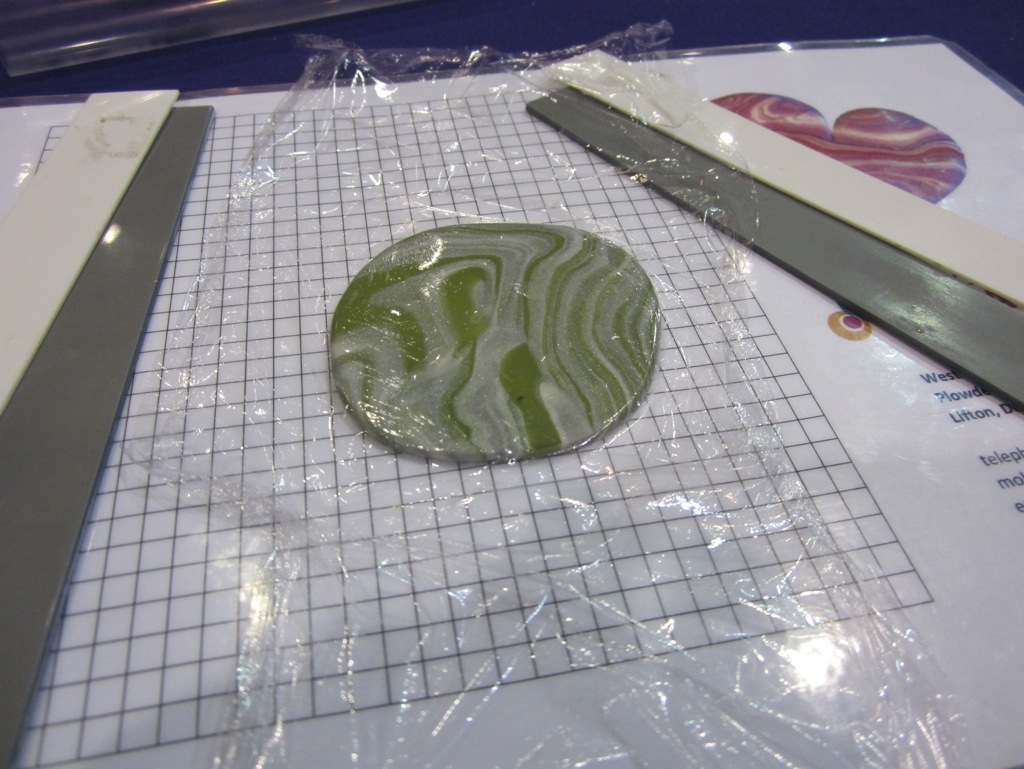
Next we rolled it in to a ball and found the prettiest bit

Before flattening it to keep that bit uppermost

Now we rolled out the clay using the little plastic rolling pin and spacers. I would guess the spacers are about 6mm as she discussed this as a standard later in the workshop.

The clay was then carefully covered in cling film (saran wrap) making sure there were no creases or air bubbles.
Then we cut out the main shape using our choice of cutter. I went for a square as that echos the pattern on the top:
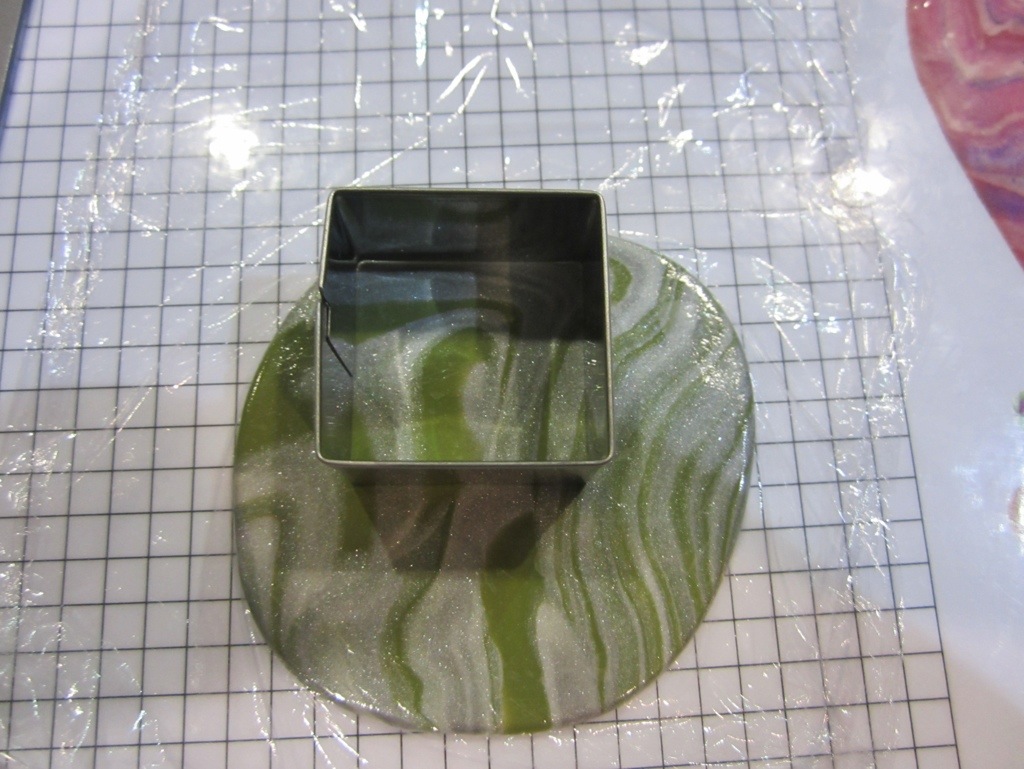
This is really clever as once we stamped out the shape the cling film gave our jewellery a lovely bevelled edge

I had enough space to do another one and for some unknown reason I chose the same shape – how boring and unimaginative.
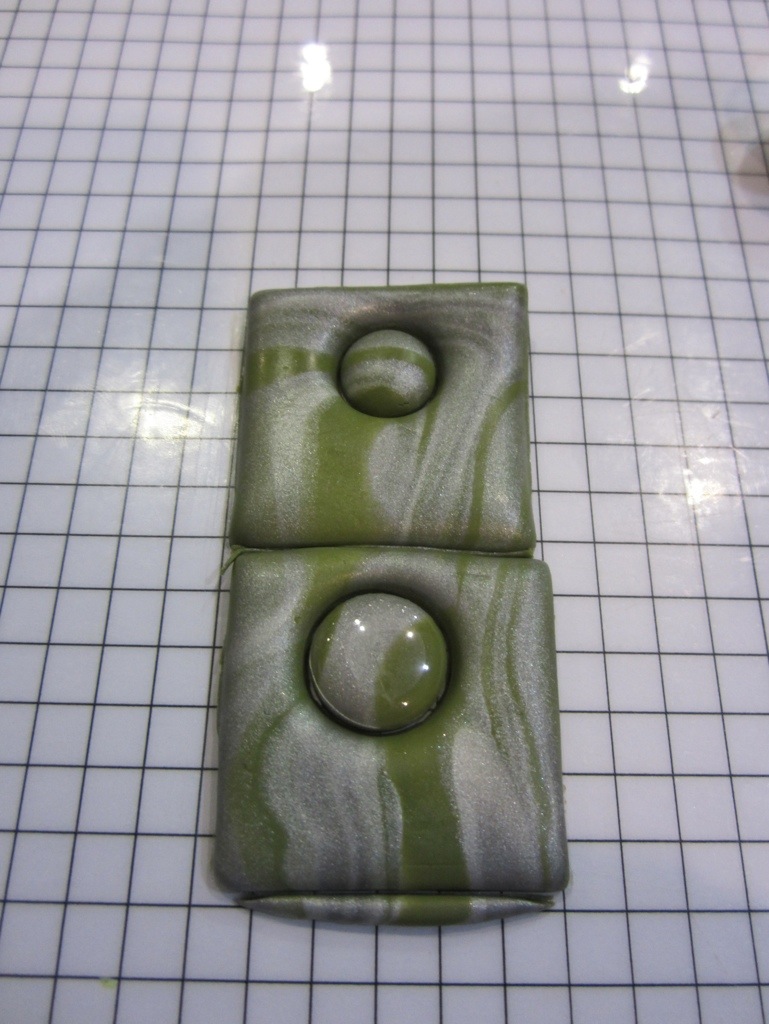
We cut out the little hole with a small pipe like tool.
Now it was time for beads! As my pendant was fairly small I decided to make a smaller bead for the necklace and then have some spares for other projects.

We drilled holes through the beads using cocktail sticks being careful not to misshape them.
To bake they were placed on a bit of cardboard to avoid the metal of the pan scorching the clay.

Next to mine here you can see Emma’s work. She’s gone for a lovely purple again. Also she was creative with her spare clay and made a button!
They were baked as per the manufacturer’s instructions whilst we chose our cord – we needed 56cm of it per pendant:

And collected our ‘findings’ which are all the little metal bits which makes jewellery wearable!

This is what my bits looked like as they came out of the oven:

Not massively different!? They shouldn’t be touched for a while as whilst hot they can still be malleable.
We then added our cord and findings and we were done!

I like my jewellery but wished I’d gone with diferent colours, the olive green doesn’t really go with my top in the end and it is just a bit of a bleugh colour mixed with that cream. The most striking bits of jewellery in the class were those who used very dark colours as accents. However I don’t hate it – I just like Emma’s more!! We liked this craft so much we have gone and bought a starter pack of bits and bobs from various stalls at the show. The instruction was excellent and for just £4 this workshop was an utter bargain. I paid an extra pound for my additional findings and cord but still it was inherently reasonable. I would recommend this craft, this company and this workshop.
Have you ever worked with polymer clay? Have you had any experience of good or bad workshops at craft shows? Are there any crafts you’d love to try but don’t know enough about? Did you do the same workshop? I’d love to hear from you!
I’m linking this post to my favourite Linky Parties!


